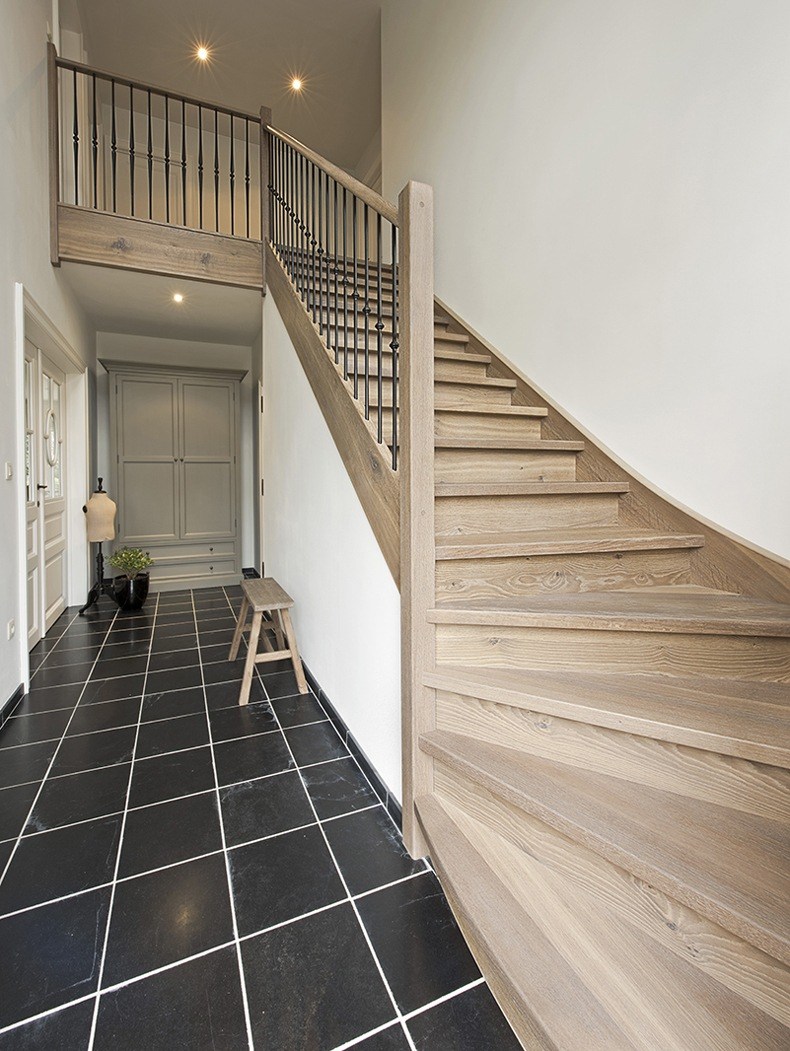
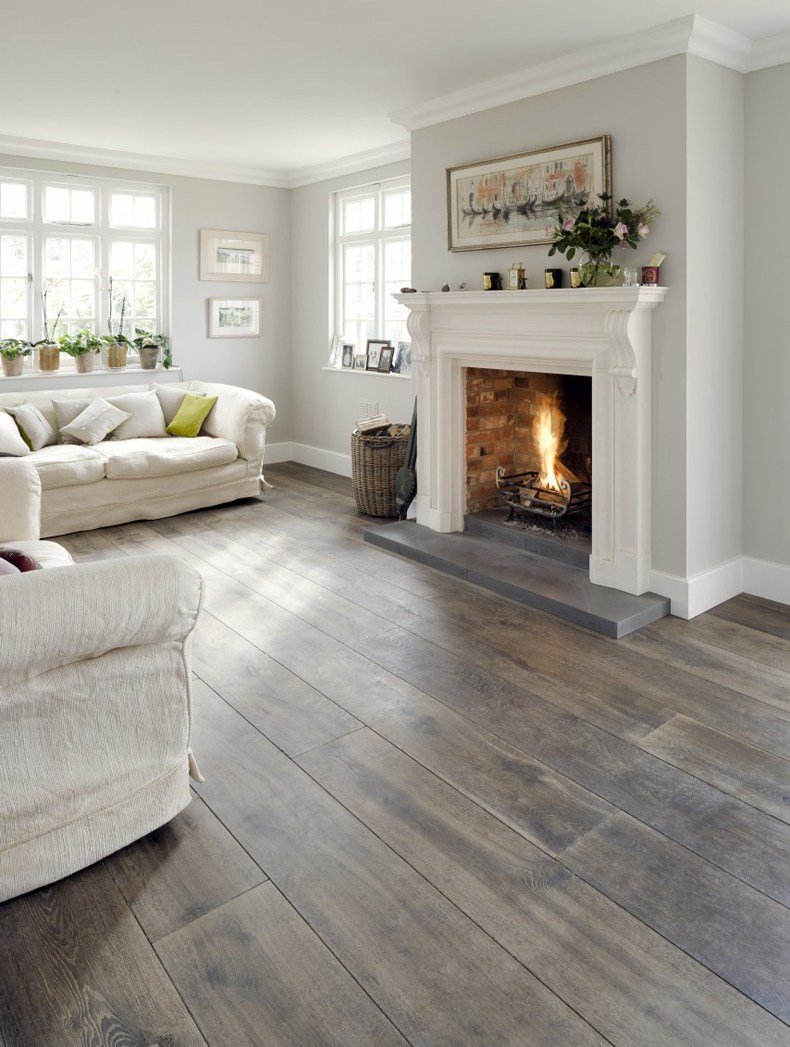
If you want to enhance your home’s style and beauty, wood pieces is a great option. Different types of staining oak wood and hardwood can differently integrate into style of any space.
If this is a first time that you decide to try staining oak wood or want to remember this process, here is step-by-step guide where you’ll find answers to all possible questions concerning this process. By the end of project you’ll see that it was not hard at all, and the item you’ve finished looks exactly the way you’ve imagined.
What You Need for Staining Oak Wood?
Needed materials:
- Wooden piece, which needs finishing. It must be well cleaned and dry;
- Pre-stain (wood conditioner);
- Chosen wood stain;
- Wood finish, like polyurethane;
- Brush;
- Rags (e.g. clean old white t-shirts).
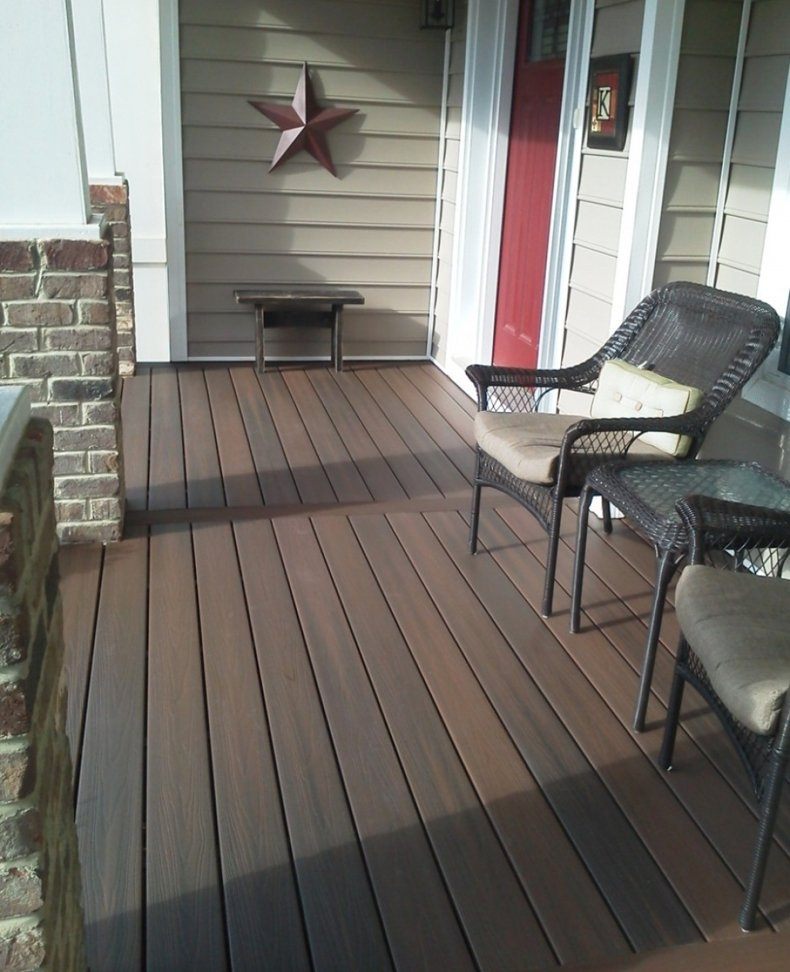
It is important to know that pre-stain, stain and finishing coat are consistent. This means that if you choose oil-based stain, pre-stain and topcoat must also be oil-based. If you choose water-based finish for staining oak wood deck, it will not work well being applied over oil-based stain.
Effective Steps of Staining Oak Wood
Now, you may start.
- First step is pre-staining. First of all make sure that your wood piece was previously cleaned and has already dried. All finishes were successfully removed from the item with a stripping agent;
- Take clean brush and apply some conditioner to an invisible part of item. This way you may see whether conditioner is absorbing well. When you see that this is so, you may continue applying conditioner to rest of the wooden piece;
- Apply conditioner to the entire piece. This step is important, but unfortunately many people skip it. Conditioning makes wood more even. As a result, color staining oak wood will be more beautiful;
- Now, wait until it is totally absorbed (5-15 minutes);
- If there any excess, wipe it with a clean rag. The best option for absorbing is old white t-shirt;
- After finishing the first phase, you’ll have not more than two hours for applying the stain itself. Make sure that it is the same based as conditioner you’ve already applied. Mix it up trying not to make air bubbles in it. If size of the item is big, you may need to repeat the mixing.


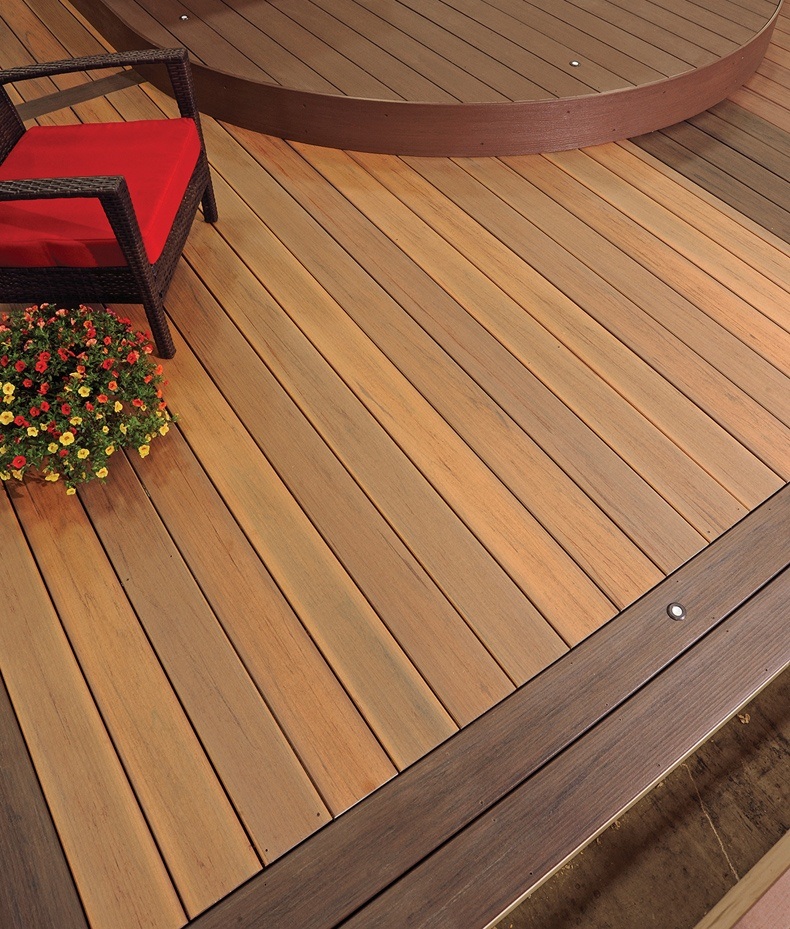
- First, start staining outdoor wood piece on its invisible part, like an underside of a wooden bench;
- It must be liberally applied with a clean brush. All drips must be brushed away, otherwise final result will not be even and there might appear odd lines;
- In order to create an effect of evenness, apply agent on small sections at a time, like single wood surface;
- Now, wait for more 5-15 minutes, until it is absorbed. If absorbing process lasts longer, color staining oak wood will look richer, darker and deeper;
- Take clean rag and wipe away the excess stain, if needed. You may need more rags than you could think. Use as many as will be needed to wipe everything until the last drop. Otherwise, it may never dry and will remain sticky forever;
- If the result of staining oak wood deck on inconspicuous area has totally satisfied you, it’s time to move on and stain the rest of a piece. Do not forget to stick to timeframes giving the stain evenly and uniformly absorb over the entire wood item;
- After you’ve applied the stain, waited and finally wiped away excess stain from the entire piece, take a break for at least 8 hours. During these hours the stain will go on absorbing and will finally dry. Depending on the temperature and humidity in the work room, this process may take more time;
- When the stain has dried, you may decide to make the color of the item darker. Do not hesitate and apply the stain again over the first coat. Follow above-shown steps once again. And then again, let it dry fully and then go to another step;
- When you’re finally satisfied with the result of hardwood staining, it means that the time for applying finishing coat has come. Remember: oil-based wood finish to oil-based stain, water-based finish to water-based stain. You may use clear coat polyurethane as a finish;
- Start from the stiring the polyurethane in order to raise from the bottom everything that might have settled there. Do not shake it or you’ll let the air bubbles to get in there;
- When applying the poly, natural foam or bristle brush should be used. Apply polyurethane in a light but even coat and let it dry for at least 3-4 hours. When it is no longer tacky and have completely dried, take 220-grit sandpaper and lightly sand the surface. Then wipe it clean and repeat the applying of poly;
- There may be several repetitions of this process, until you get the desired effect. When the last coat was applied, wait for at least 48 hours.

Now, the staining oak wood is done and you may see the result! Successful staining outdoor wood and indoor wood pieces is not as difficult task as it seemed to be from the first sight, isn’t it?


No Comments