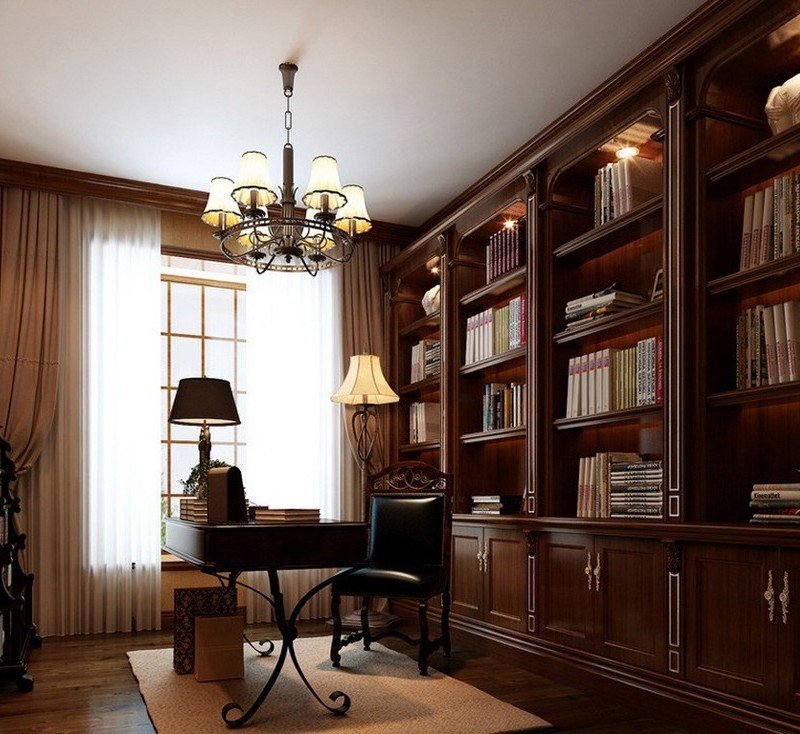
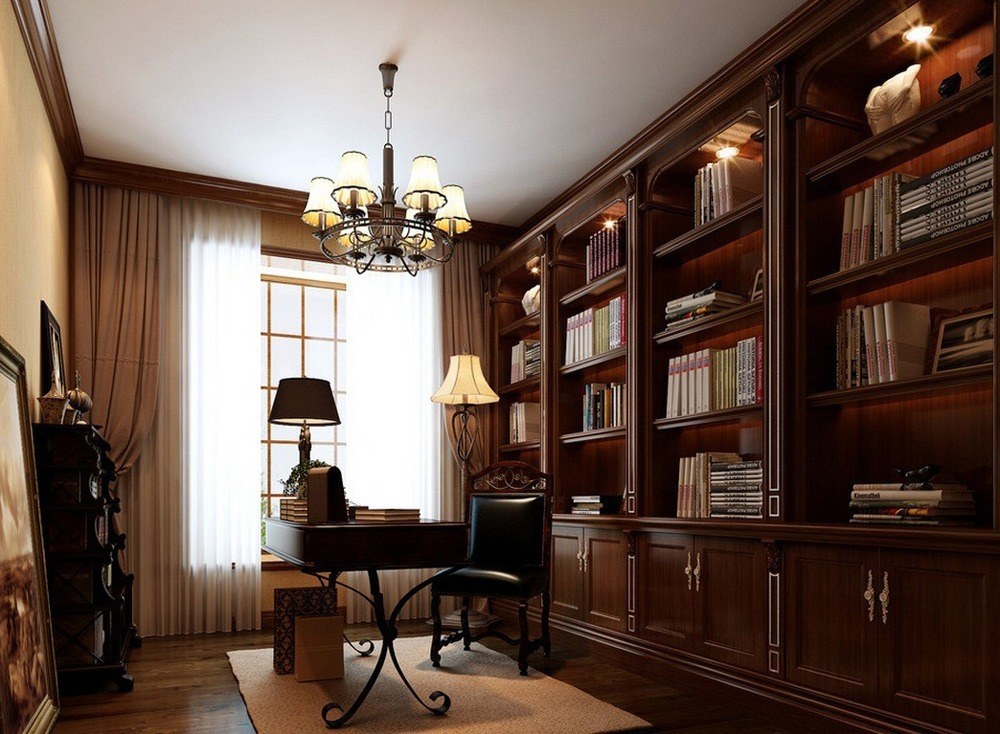
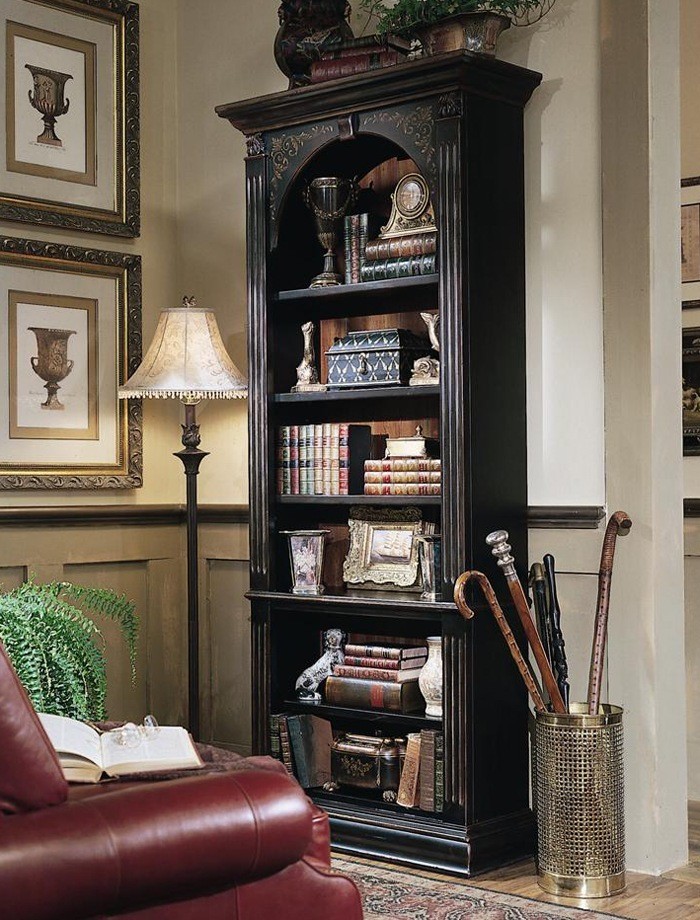
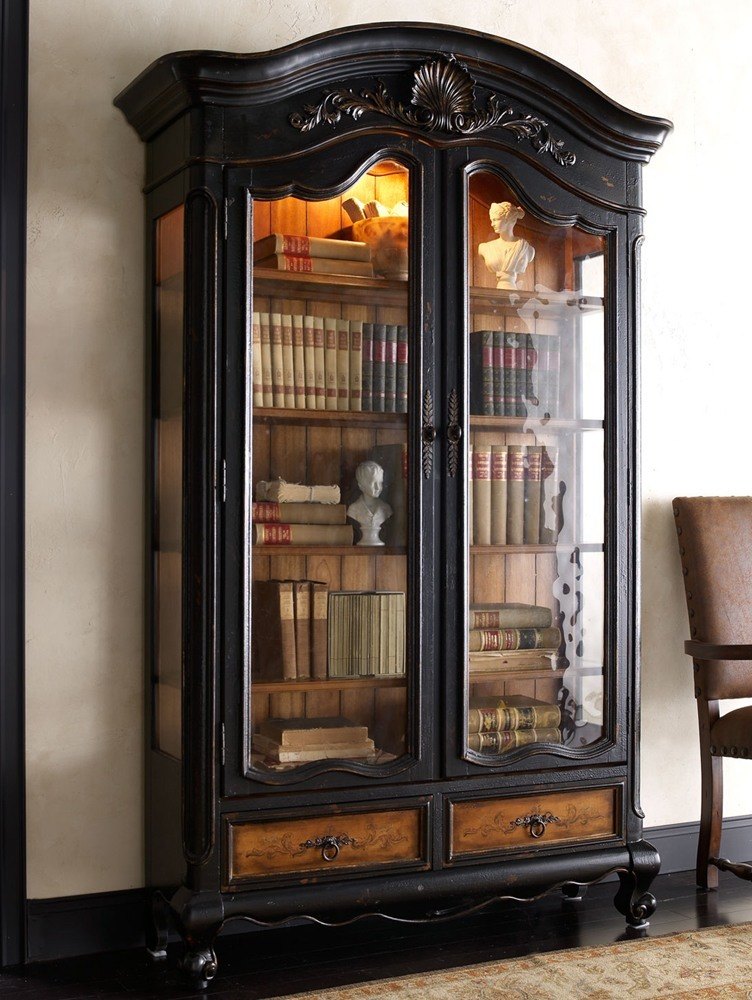
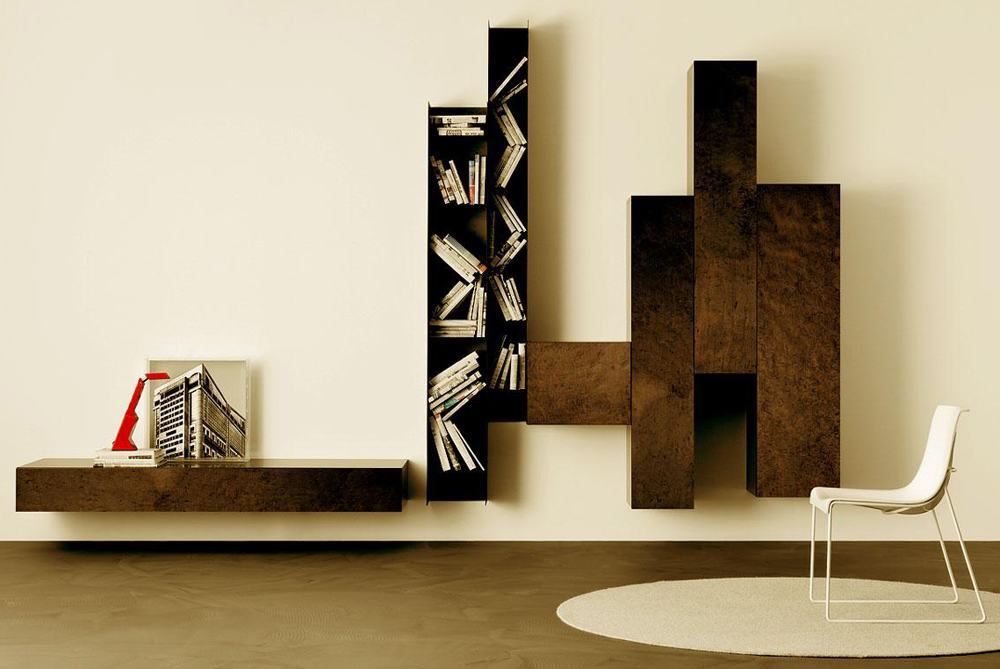
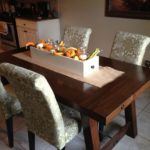
The living room is the most visited room in the house; it solves a lot of problems and it is very simple to make it beautiful and useful. Many people like the idea to use shelves and used solid wood bookcases as a stand for interior needs. A black wood bookcase with doors has several functions: you can put books, souvenirs, crystal, pictures and more there.
A comfortable solid wood corner bookcase or wall shelves will fit harmoniously in a small room. It only remains to choose the one that emphasize the style and character of your home and will have enough space to place all needs in it.
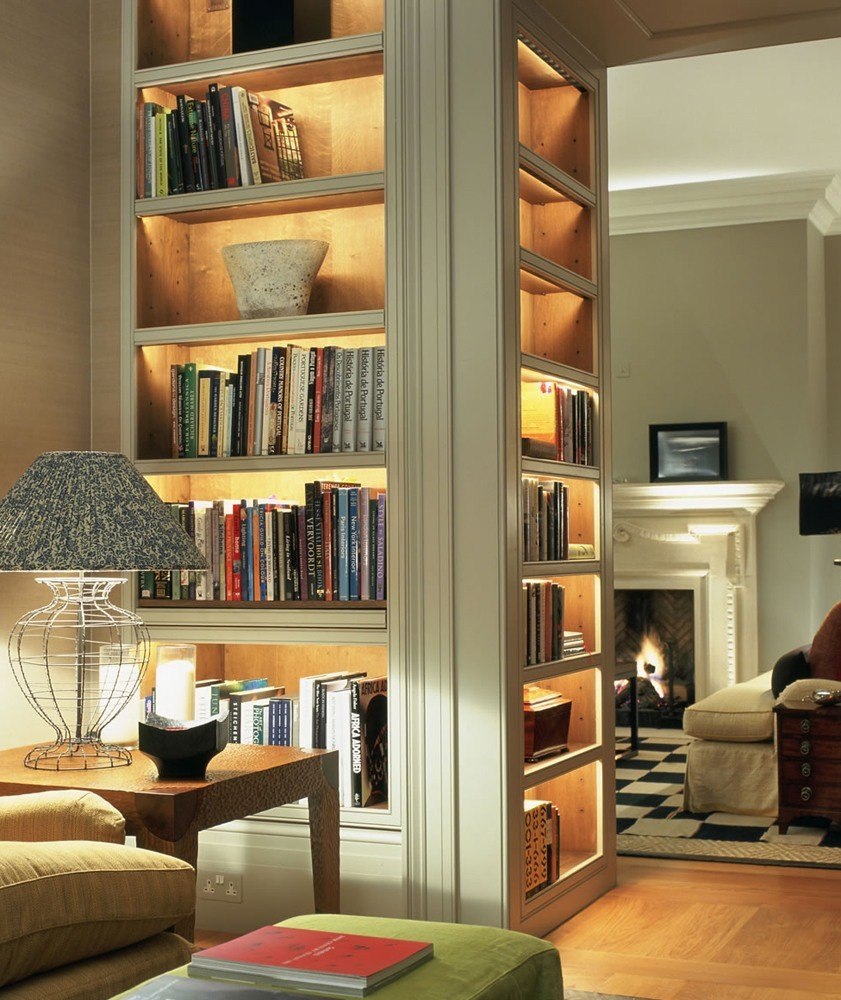
Glass, plastic or wooden bookcase for books and other needs can significantly save space in the room (recently, this issue is one of the most important in the preparation of design projects). Huge and heavy cases we bravely pushed back, and put a modern and compact narrow wooden pieces of furniture, tall dressers and shelves on their place.
Popular Materials for Making Used Solid Wood Bookcases
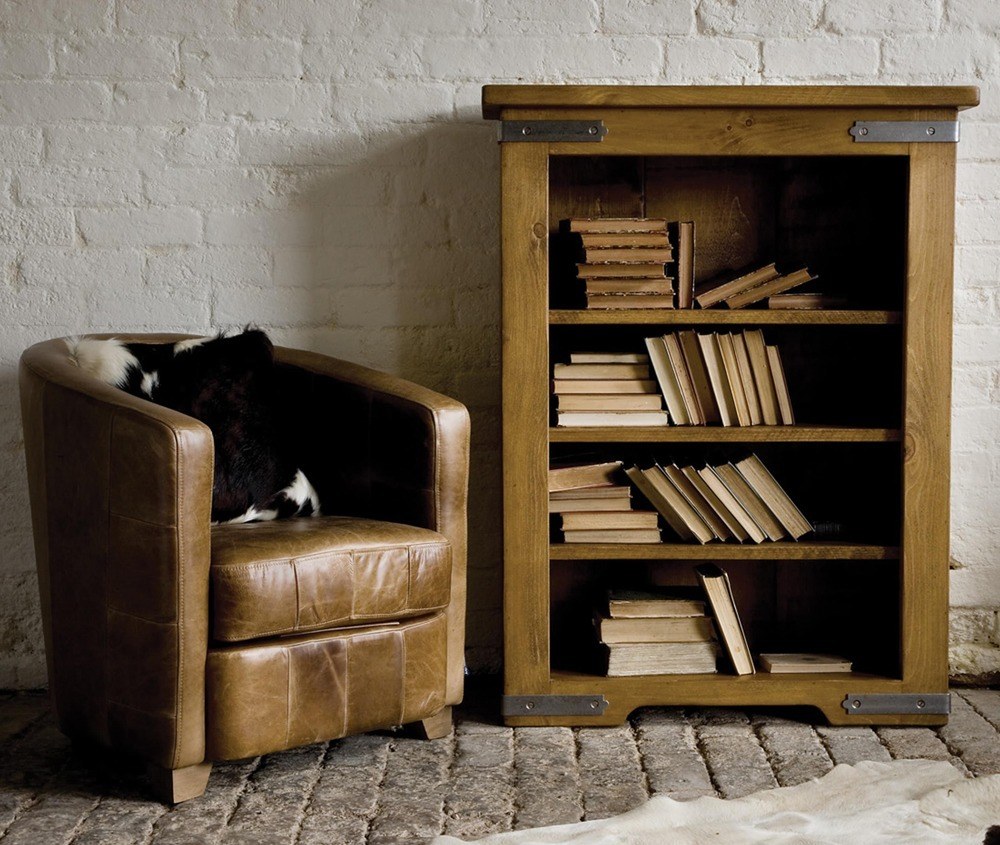
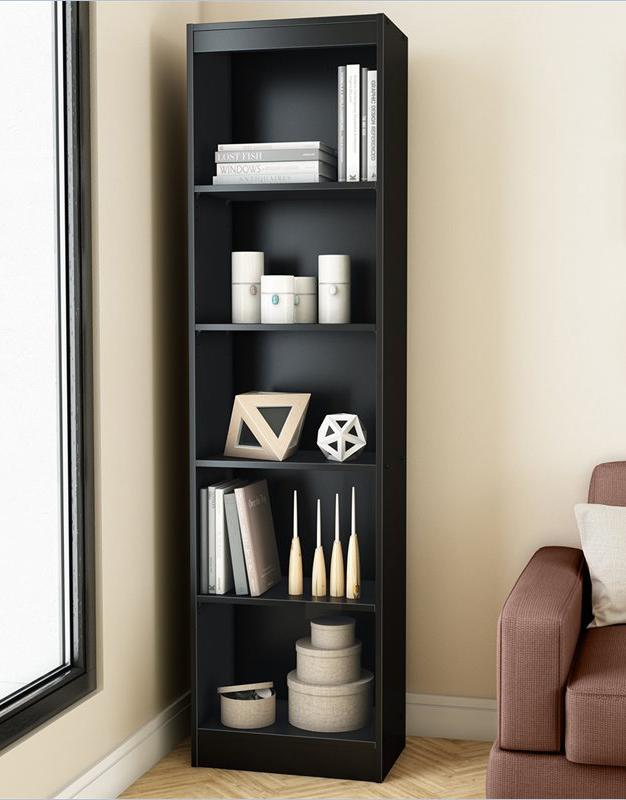
Cheap open wooden one consist of several tiers of shelves; each of which is intended to store items and souvenirs. They can be used both at home and in offices or cafes. They contribute to the rational arrangement of furniture in the interior, since they occupy a minimum of space.
Bookcases with glass in an office or a cafe intended for storage folders for documents, magazines and, in fact, books. For convenience, designers equip their furniture with drawers where you can keep small things.
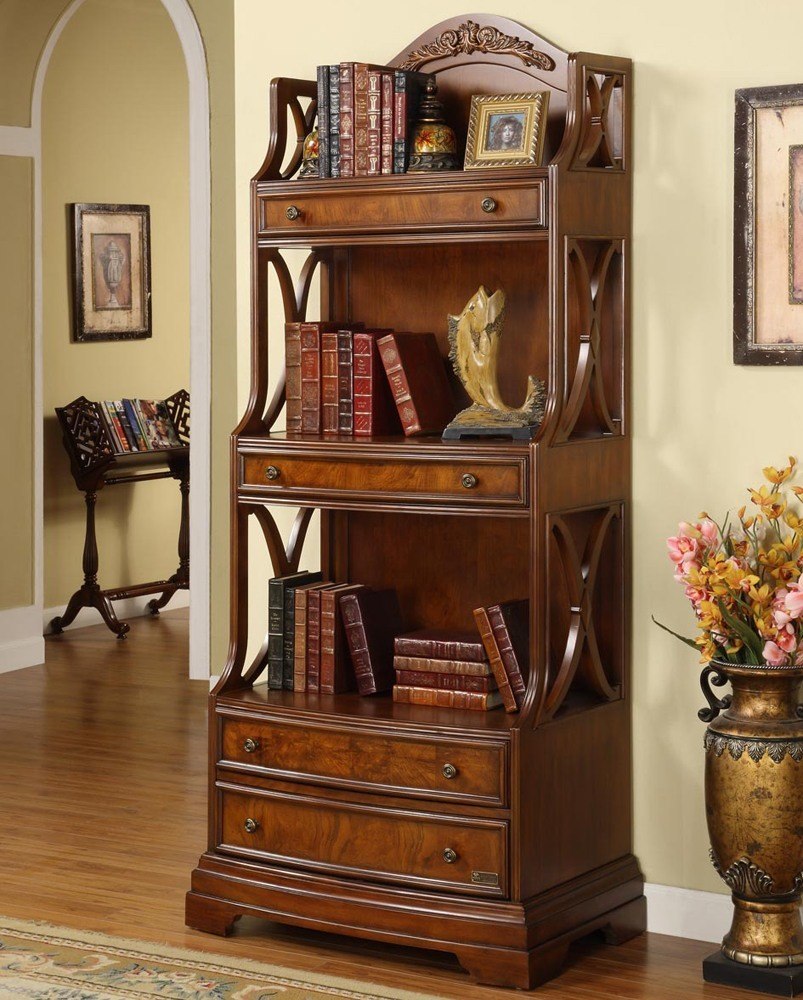
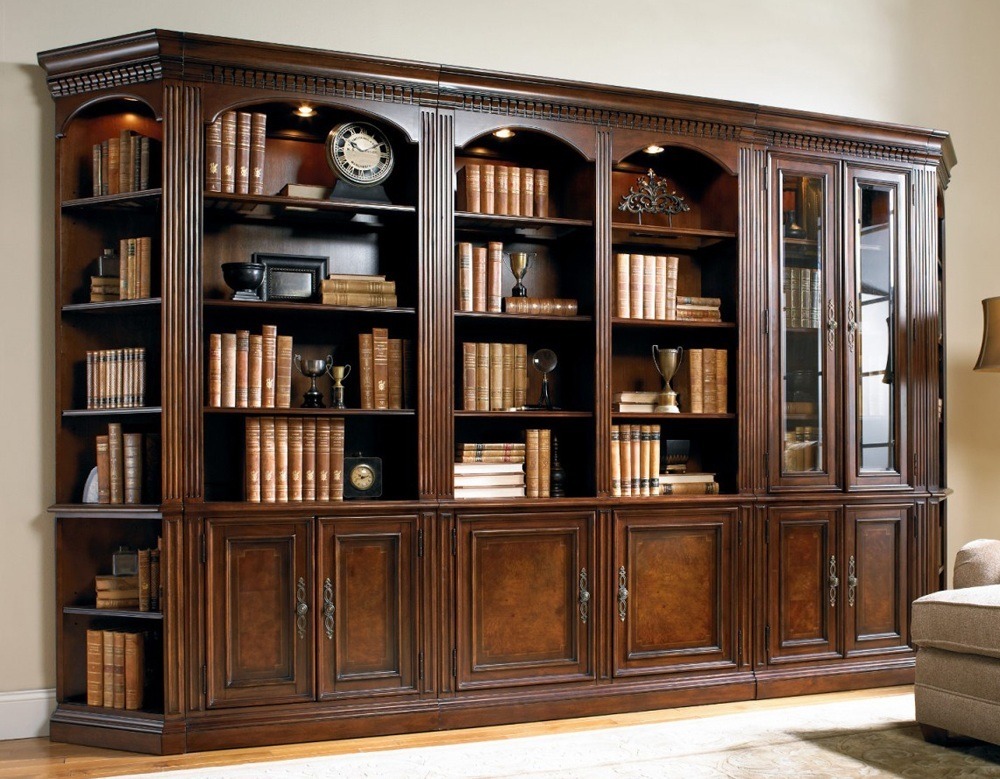
Currently, the array is one of the most popular materials in the manufacture of the elite wood bookcases. Its amazing operating characteristics allow making raw wood bookcases in the order, which will last more than one generation. Bookcase which is made of solid tree is well-protected from mechanical and thermal influences. Such solid cherry wood is perfect for families who have pets and naughty small children.
The range of materials used for the manufacture of used solid wood bookcases is very wide. They are usually made of solid wood:
- walnut
- oak
- cherry
- birch
- pine
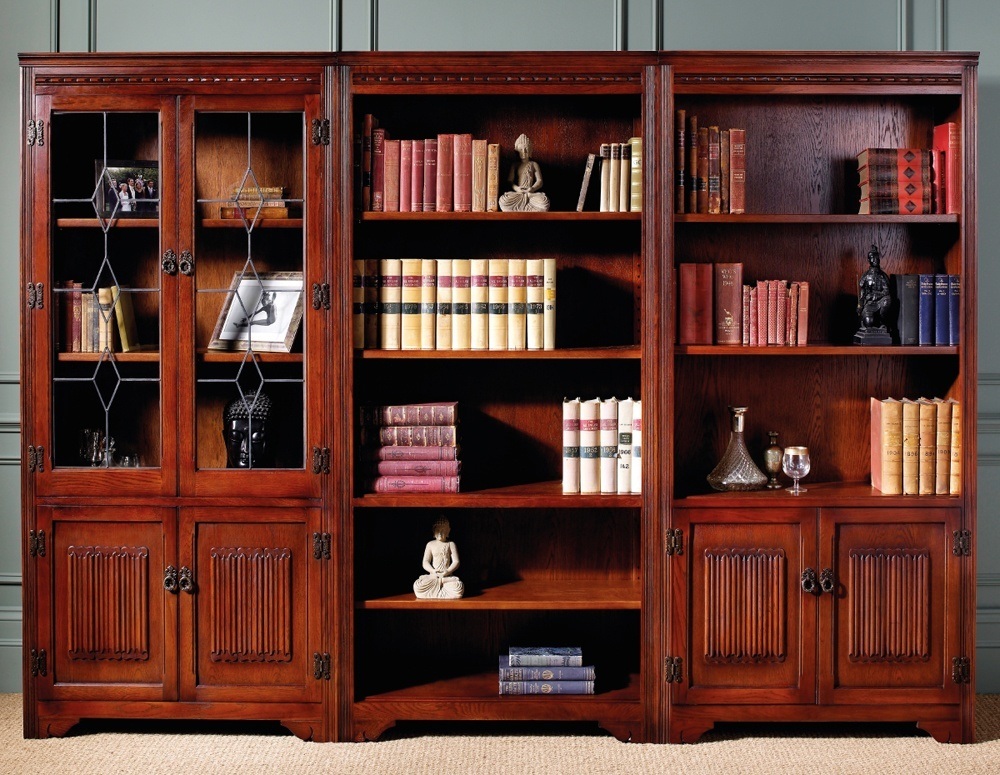
It’s doors are made of transparent or frosted glass. Modern high-strength glass is not cheap, but it is hard to break it. Tempered glass doors can withstand even heavy blows.
Stylistic Variety of Used Solid Wood Bookcases
There are some kinds of used solid wood bookcases:
- Traditional – has a hinged or sliding doors which are made of glass at the top and it is deaf at the bottom. Books in a closed bookcase are better stored and they less accumulate dust.
- Book closet – is a bookcase, closed at the front by the facade with sliding doors. It may have back wall or to be built, for example, in a niche. Book closet allows you to use all the space from floor to ceiling, which is especially important in modern small apartments.
- Home library is a system composed of several used solid wood bookcases: fixed and moved on rollers.

How to Decorate a Used Wood Bookcases
I’m going to tackle something that’s a little challenging for people and that’s how to accessorize a used wooden bookshelf. So this is my dark wood bookshelf with doors in my living room, it’s full of character and imperfections, but I want to show you how to step-by-step decorate a bookshelf.
Most people, they struggle to decorate their used wood bookshelves and they end up looking really cluttered and unbalanced. I’m going to share some tips on how to make your solid wood narrow bookshelf look gorgeous and visually pleasing.
1st Step
The first thing I’m going to do is choose some books. I’m really picky about the books I choose I don’t like to use paper back or books with sleeves my favorite is to use antique books and I like to choose ones that kind of have neutral colors and have titles that I find really interesting.
Once I’m done selecting my books I’m going to add large bookends to the middle shelf this is where the eye naturally gravitates. It’s best to keep the middle shelf simple using a statement piece so these bookends will be perfect. I’m going to make sure the books vary in height and color, but I’m not going to go too crazy. I want them to be different but not distracting.
Once my books are all in place I’m going to make sure everything is centered on the shelf. This looks perfect. I love the symmetry. This is also the place to put the books you’re frequently reaching for since they’ll be easy to get to from here. It’s important to add a little greenery to a used wooden bookshelf. So for something different I’m adding these moss balls to a rusty wire bucket. This is a simple way to bring color and life to the bookshelf.
2nd Step
My second choice of greenery is simply this container filled with two faux stems that I clipped down, super easy, just make sure to fluff and it’s important to leave plenty of space between your greenery. A good rule of thumb is to keep them at least one shelf apart. I usually use two greeneries when decorating a used wooden bookshelf. Good grief, I never get any work done.
Next, I’m using this awesome clock. I just love the shape. I believe every room needs at least one thing that shines, so this guy is heading to the top shelf. I’m going to add a wooden picture frame to complete this shelf, love it! I found these amazing gear pot thingies, I really don’t know what they are but take note of their varied height you could use candlesticks or something similar to easily mimic this.
3rd Step
Next I’m using some more books by setting them on their side. I can set this vintage camera on top as a way to display it. This can be done using any knick-knack that you prefer. The concept is to give height to whatever you choose to display. The final touch on the shelf is another picture frame. Finally, for the bottom shelf, I’m adding vintage metal lunchbox.
My last touch will be sweet candle holder jar and little key. I just love the charm they bring to used wooden bookshelf. This little mouse candle holder was actually one of my daughter’s favorite things as a kid, so it holds a special place in my heart and there you have it!
Super easy, everything on the shelf is correctly to scale and there is not an overabundance of books or personal photo frames. The use of greenery, antique books, and vintage finds, creates a perfectly accessorized used wooden bookshelf.
How to Make Sleek Looking and Adjustable Bookshelf
I’m going to look at how to build sleek looking and adjustable bookshelf. For this build I decided to go with a minimalistic and modern type look. I made the shelves adjustable, allowing us to raise and lower them to my desired height to suit my needs. And lastly I used stained dowel rods to help compliment our black anodized finish.
So with any build, the first thing I’m going to want to do is make sure that I have everything organized, verify that I have all of our parts and pieces, and check to make sure that I have the correct tools for assembling this build. Now for this build I’m going to need four different tools. I’ll need a 3/16 hex wrench, a 1/4 hex wrench, a 6mm hex wrench, and a 5/16 box end wrench. So when it comes to build the shelf, the assembly is fairly simple. Again, I’m going to break the design down into two parts. A left support, and a right support.
From there I’ll drop my shelves in, and I’ll finish up by mounting the whole thing into place. Now when it comes to securing your shelf to the wall, be sure that it is level, and secure. If you are unsure, please seek the help of a professional, and be sure that your shelf does not lean or tip. Now the first thing I want to do, is put on my shelf supports. For this, I’m going to use my gussets. I preloaded half of them with bolts and tnuts, and what I’m going to do is simply slide it into the open slot and make sure that the flat side is facing up, or towards the mitered end of the shelf.
Now where the modularity of 80/20 really comes into play. If I want to adjust these later on, for more or less shelving space, I can. So once I have all this tightened down, I’m ready to move onto my supports that are actually going to attach this, to the wall. Now I’m ready to mount my supports. I’m going to start with the base supports.
This will simply mount to the connecting profile using an anchor fastener. Once I have that in position and tightened down, I’m going to connect our corner bracket to the top of the base support. Now for the top supports, I’m going to use miter connectors, to connect my bars. Simply take the support, drop it down onto the miter connector, and tighten down our bolts. From there, I’ll take a bracket to mount this to the wall, and attach it to the top of the support, and tighten down.
After I have everything tightened down, I’m ready to add my shelves. Now when it comes to your shelves, you drop them in, right between the bars. You’ll feed a bolt through the shelf, and into the gusset. I’ll add a hex nut on the other end, and I’ll tighten it all down. Now once he’s all done with that, I’m ready for my final component which are adding rubber bumpers, to the bottom of the frame. Once those are in place, you’re ready to mount your shelf, to the wall. Alright, I have my bookshelf completed, mounted to the wall, and I’m already putting it to use.
How to Make Incredible Collapsible Used Bookcase
I’m gonna make collapsible used bookcase. This is a really simple project. It could easily be done in a day I spread it out over two days. I made this using the plans from Christopher Schwarz’s book “Campaign Furniture.” If you’re not familiar with campaign furniture, it’s British furniture that is made to be mobile for military and travelers. It’s a very old style.
Christopher Schwarz goes into great detail on the history of campaign furniture and how it evolved and where it’s at today. Really good book. I highly suggest you check this out. I like a lot of the look of campaign furniture because it’s very simply. It’s very square. Maybe not this project in particular, but I really like the squareness.
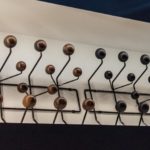
Let’s talk about the hinges. All the hinges come from Brusso. Twelve hinges total. That is a lot of hinges. As long as you install all the hinges in square and this top set and this bottom set are the same distance from the middle here it should collapse and go back together with ease. I used the Brusso hinges and I cut all the mortises by hand. Brusso also makes router templates just for these hinges. And they make router templates for their other hinges as well.
I really wanted to up my hand tool game and cut them all out by hand. It was a good learning experience. I got a lot faster at making the hinges and I got a lot better. A couple later ones I got a little sloppy just ’cause I was in a hurry. But as long as you take your time, I got excellent fits. The router plane that I used made this so much easier. This is the Lie-Nielsen router plane. I believe they come in two sizes. I have the smaller of the two. And so there’s this little blade on the bottom and you use screw to set your depth. And then you can get a nice clean bottom. This made mortising out the hinges so much easier than just using a chisel alone.
So I set up a timer and timed how long it took mortise out one hinge. And it was just under 5 minutes. The one that you’re looking at now, this is the third one that I’ve done. After I did two, I was like “Okay, I’ve got down. I know what I’m doing now. I think I can do it in less than 5 minutes.” I would imagine a more skilled hand tools person could probably get that down to 2 minutes. But woodworking isn’t about being fast, it’s about having fun. It’s about the enjoyment and the happiness that you get from making these pieces.
So the Brusso hinges come with brass screws, of course. And all the sets also come with one steel screw. And that is so that you can set the screw in without breakin’ it, ’cause brass is really soft and you could easily strip out the head or break the screw off. So you get ’em started with the steel screw and then you use the brass screw later. Yes, there is just a little bit of wobble to it, but this would easily hold a bunch of books. The weak point with this definitely is the hinges ’cause the hinges are used for the joinery.
The top shelf and the bottom shelf are only held in by the hinges. This middle shelf could hold tons of weight. This could easily hold books. You’re not gonna park a car on top of it. Will flip it around to the back here and this middle shelf has this piece which kinda stabilizes everything pretty darned good. The better you cut your mortises, the less wobble that you’re going to get later on. I used three coats of shellac on here; just the normal shellac that you would get at your local hardware store with steel wool in between the coats which makes it real smooth. What am I gonna use this for? I’m not going to use this as a bookcase I’m thinking about taking this to the craft shows and using this as a display. Because since it collapses nice and easy it makes it mobile.


3 Comments
Good day! This is kind of off topic but I need some
help from an established blog. Is it very difficult to set up your own blog?
I’m not very techincal but I can figure things out pretty fast.
I’m thinking about creating my own but I’m not sure where to start.
Do you have any ideas or suggestions? With thanks
Hi there, up this paragraph is in fact good and I have learned lot of things from it about blogging.
thanks.
I truly wanted to post a brief comment to appreciate
you for the pleasant hints you are sharing here.
My extensive internet investigation has finally been compensated with reliable know-how
to go over with my contacts. I would believe that we website visitors are quite endowed
to be in a fine network with so many lovely individuals with
great tactics. I feel somewhat privileged to have used
your entire web page and look forward to
many more enjoyable minutes reading here. Thank you again for a lot of things.